I was merrily knitting along, when suddenly I noticed that my working yarn came to an abrupt end, right off of the ball I was using (I blame my cat and his claws for this). So, unless I wanted to make my scarf 20 inches long, and thus, very very short, I needed to figure out how to join the little bit of working yarn I had, to the remaining ball.
Being a beginner, I hadn't had to join yarn yet, and had no clue how to go about doing it. Thank goodness for the internet, which is where I went straight away. I browsed Youtube, and found the method known as "The Russian Join", so I tried that. However, my yarn, being worsted weight, wasn't cooperating with me, and probably that's because my darning needle was too big, so I gave up on that. Going back to Youtube, and after looking at other methods, I decided to use this one, called "The Magic Knot" method.
I found that this method is quite simple and easy, and the join is almost seamless. You'd have to know the general area where the knot is, and finger around the work for it, to even find it, much less notice its there. Here is a picture of my own work, with the "Magic Knot" join used in it.
 |
| One side of the work |
 |
| Other side. Can you see it yet? |
 |
| There it is!! |
So, you see how its almost invisible. I am quite pleased with this join and will use it again in the future. Its also worth noting that it is very secure (if done right) and won't come undone. Also, there are no ends to weave in. Something I am very diligent about is avoiding any extra work, when possible. Maybe that's because I am lazy. Or could it be that I am just efficient? Either way, this join was worth finding and using!!


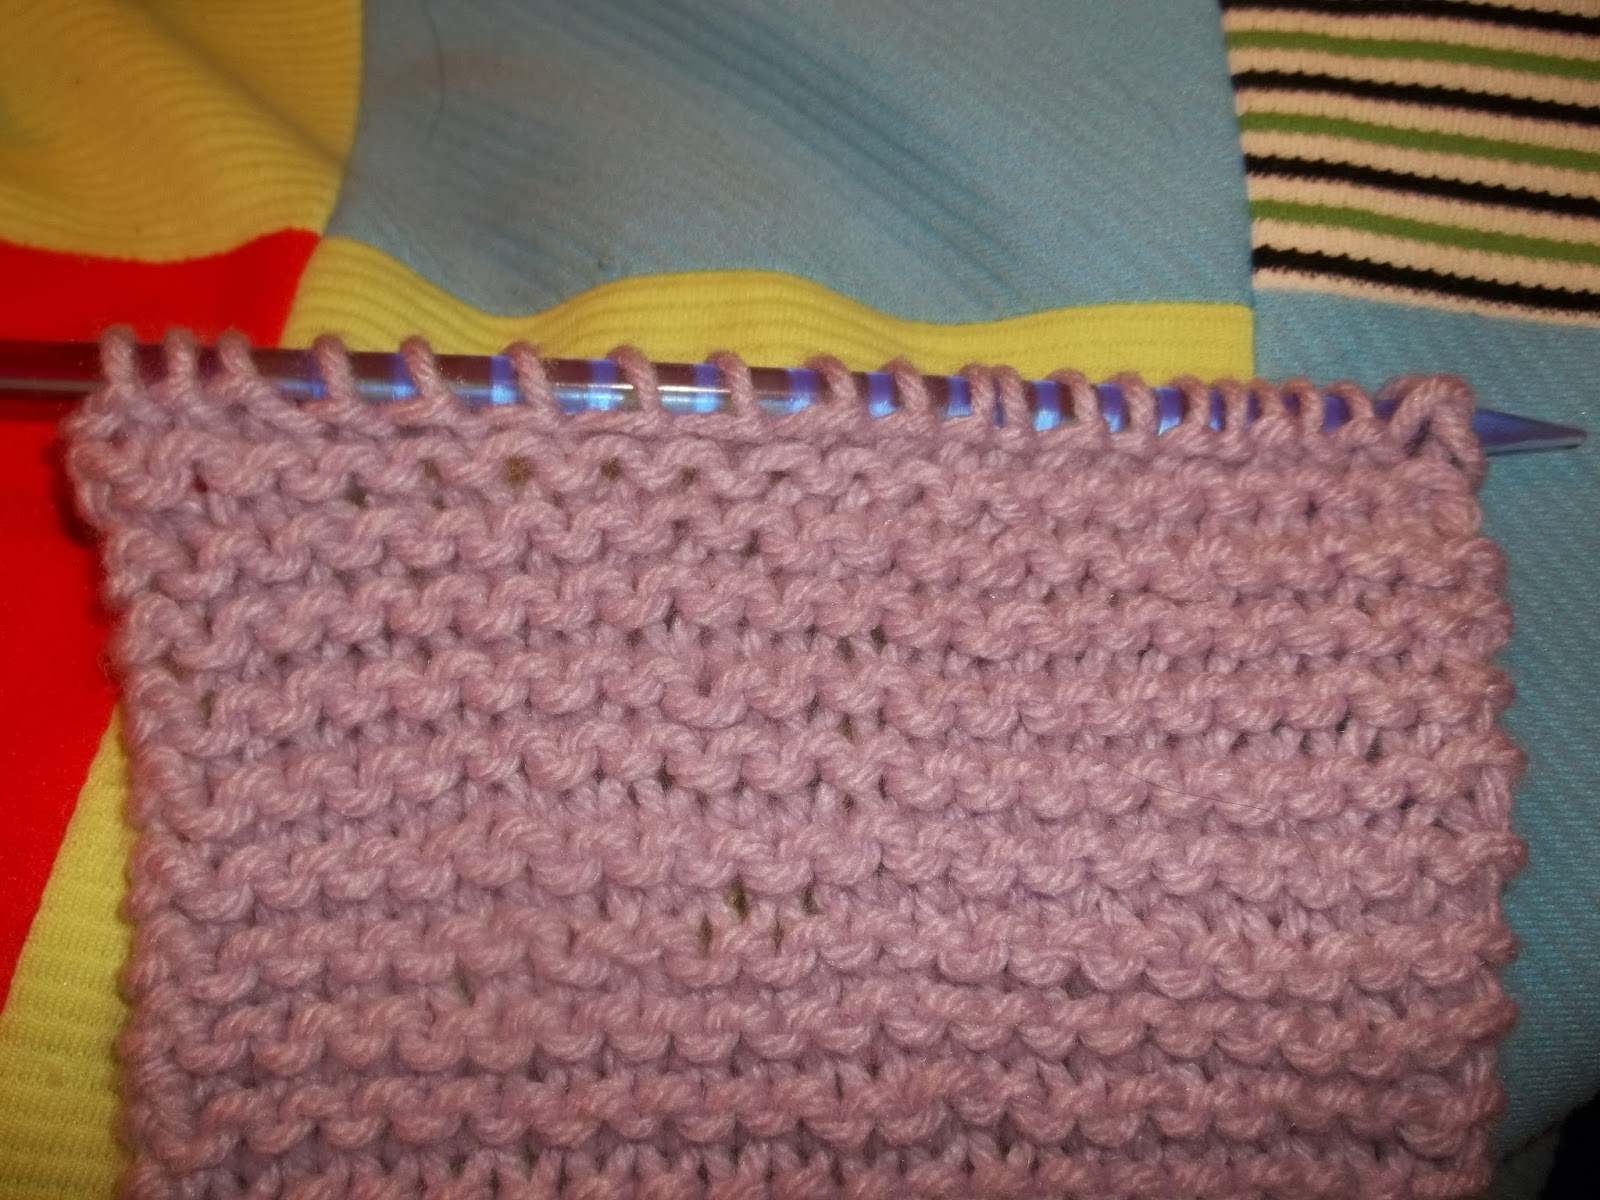

That looks really good! Now I'm tempted to cut my yarn just to try it out. Thanks for a nice clear picture showing how well it blends into the work.
ReplyDelete