Tuesday, January 14, 2014

Working on new projects!!

Its been a while since I last updated, hasn't it? So, I am still busy knitting. I am now working on a garter stitch bag. I am basing it off of this pattern.  My altered pattern looks like this.

Modified” Everywhere Bag

This versatile bag is an easy beginner project.

You'll Need:

  • Size 10US Needles (6mm)
  • One Skein Red Heart Super Saver acrylic yarn in "Plum Pudding" (or any color).
  • Darning Needle
  • 2 (matching) buttons of any size


Main Body of Bag

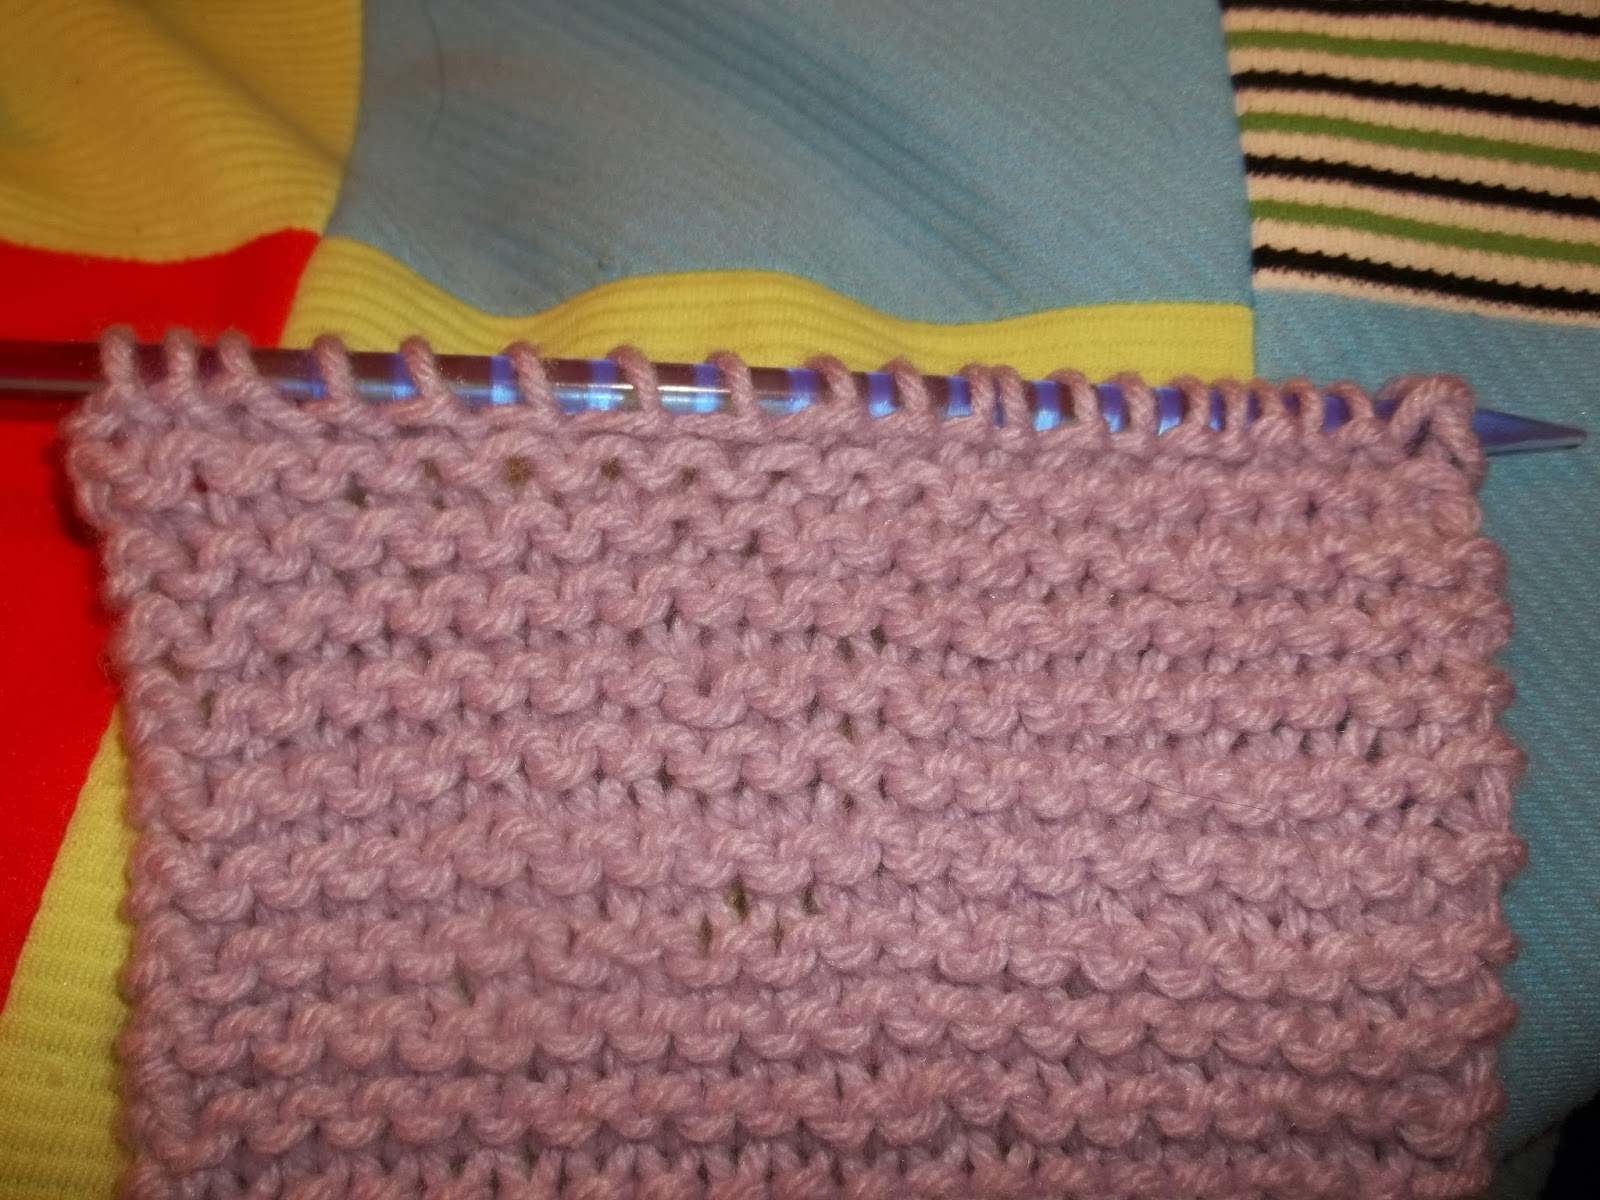
Begin by casting on 85 sts. Knit each row ( work in garter stitch) until the piece measures 55 inches long. Bind off.

Steam block work lightly so it lies flat.

Measure down 22 inches of the piece and fold with wrong sides together, and sew sides closed with darning needle and a piece of the yarn.

NOTE: The wrong side will be whichever side you think looks the least nicest, since garter stitch is almost the same on both sides. The only difference being the look of the cast on and bind off.


You should have 10 inches hanging over on the top (the only place you didn't sew together). That will be the flap of the bag.


Handle

Cast on 189 sts, knit for 3 rows and bind off. Sew the ends of the strap to either side of the bag with yarn.


Button and Button Fastener (Loop)

Cast on 8 sts, Knit for 1 row, Bind off. Repeat for second fastener (loop). Sew each loop onto the top of the bag flap, even with each other and to sides of the flap, making sure that the ends of the loop are about one inch apart from each other.

Sew each button directly under where the button loop is on the flap using either emboridery floss or sewing thread.

NOTE: If using plied yarn, you can separate the plies and use one as a piece of thread, thus matching the bag completely.

Feel free to use this pattern. Its really quite simple. I'll post a picture when I'm done. You might need more than one skein, though, I haven't gotten that far yet, so I don't quite know for sure myself.

Wednesday, December 4, 2013

Needles Came!!

My new needles came today! As you can imagine, I am beyond excited. I can't stop feeling them, and admiring how silky smooth they are to the touch. They are made from densified laminated birch wood, and painted in a variety of colors. Each set of needle tips has a different color, which makes it easy to grab two needle tips of the same size without having to read the labels. They are labeled on each needle according size, as well as on the cardboard backing that they are attached to, and come in 9 different US sizes ( US size 4-US size 11).

I've also admired how the needle tips join so smoothly and almost seamlessly to the cords, so yarn doesn't snag or get bunched up.  That is downright must have for interchangeable needles, in my opinion.

The cords are nice in that they can bend almost to a point, and because of that, you can use them for the "Magic Loop" technique. However, they aren't so bendy that they twist on themselves and create kinks and loops when knitting. You get 4 cords in the set, a 24" cord,  a 40" cord, and two 32" cords.

The set comes with keys, to further tighten the cord to the needle tips, size markers, marked with each size tips that the set comes with, so you can easily mark which needle tips you've been using with that work after removing them to use on a different cord, and cord caps, so that no stitches fall off the cord when you remove the needle tips. There is also a small bag to hold the cords, and many pockets to hold the markers, caps, and needle tips.

All in all, its a great buy. I highly recommend them.

Saturday, November 30, 2013

My first set of circular needles!!

Been a while since I last posted. I guess I better get onto myself to post more.

Anyways, I was on Amazon a few hours ago, and going back and forth again over whether or not I should buy these circular needles I've been wanting for a while. I guess my "get it" side won out because before I knew it, I had clicked the "Buy Now" button. Now I have this lovely set of circs coming to my house, just in time for the holidays!!!


That's right, I've ordered the Dreamz Deluxe circular set from Knitter's Pride. I can't wait til they get here. I have a whole new world of knitting options now that I've got a set of circs. I've even got a project in mind for a Christmas gift!! Oh, I am so excited!

Wednesday, October 2, 2013

Joining Yarn Almost Seamlessly (using the "Magic Knot" method)

I was merrily knitting along, when suddenly I noticed that my working yarn came to an abrupt end, right off of the ball I was using (I blame my cat and his claws for this). So, unless I wanted to make my scarf 20 inches long, and thus, very very short, I needed to figure out how to join the little bit of working yarn I had, to the remaining ball.

Being a beginner, I hadn't had to join yarn yet, and had no clue how to go about doing it. Thank goodness for the internet, which is where I went straight away. I browsed Youtube, and found the method known as "The Russian Join", so I tried that. However, my yarn, being worsted weight, wasn't cooperating with me, and probably that's because my darning needle was too big, so I gave up on that. Going back to Youtube, and after looking at other methods, I decided to use this one, called "The Magic Knot" method.


I found that this method is quite simple and easy, and the join is almost seamless. You'd have to know the general area where the knot is, and finger around the work for it, to even find it, much less notice its there. Here is a picture of my own work, with the "Magic Knot" join used in it.

One side of the work

Other side. Can you see it yet?


There it is!!
So, you see how its almost invisible. I am quite pleased with this join and will use it again in the future. Its also worth noting that it is very secure (if done right) and won't come undone. Also, there are no ends to weave in. Something I am very diligent about is avoiding any extra work, when possible. Maybe that's because I am lazy. Or could it be that I am just efficient? Either way, this join was worth finding and using!!

Tuesday, October 1, 2013

Back after Summer Hiatus

I know that its been a while since I've last blogged, but that's because I've previously made the decision to put down my knitting for the Summer. The hot, humid weather that blows through Charlotte, seeing as it sits in a big valley of sorts and that kind of weather just settles in, made knitting next to impossible, and frustrating to no end.

Since I don't handle frustration well, I just gave up until the cooler fall weather would settle in, which it has, hence my resuming my blogging. I am still working on that lavender garter stitch scarf, and have since picked up a new UFO from Knit One, Stitch Too, my LYS. Its another garter stitch scarf, but this time, its made out of a cotton/acrylic yarn blend that has many different blues in it. The yarn is just gorgeous, and reminds me of the ocean, with the aquas, and deep navy blues it has . In case you want to drool over it too, here is a picture!


Can't you just feel the ocean breeze?

And for those of you who have been wondering where my original work is, and what it looks like now, well, wonder no longer!


I've since learned that blocking one's FO (Finished Object) is a must, to make it look more uniform, neat and to correct tension issues in the work. I've asked my mother about blocking and she says she'll teach me how once I am done with the lavender scarf, which is what I am working on now, more so than the blue scarf. Since I am using acrylic yarn for this scarf, I have to block it a little differently than if it were made out of wool or cotton. I'll need to use steam to block it out, and hopefully I won't kill the yarn. That's when you steam it to death and it looses all its elasticity. It is, however, a desired look sometimes, but not for this scarf!

 I'll get into that in more detail in my next post where I will show how to block work made out of acrylic yarn.

One other thing I am considering, is buying a set of interchangeable circular needles, and I think I've found the set I want. I found the set on Amazon (Knitter's Pride Trendz Deluxe Set), which are acrylic, much like my straight needles. I find that as I learn more about knitting, that I will need a good circular needle set to make things like sweaters, cowls, and other projects that have a lot of stitches in them. I plan on making my chihuahua, Noelle, a sweater one of these days, after I get done with a scarf, or both (or not). Again, I'll post about that in the future.

Well, now my right hand fingers feel this sensation of the yarn still being in them, I guess you could call it phantom knitter's hand? I don't know, but they are itching to get back to knitting. So, I guess I'll finish up here and resume my bouncing between knitting and browsing Ravelry and other knitting sites.

Tuesday, June 25, 2013

Dropped a Stitch!

So, I was merrily knitting away when I found out that I had dropped a stitch at the end of the row. Not knowing how to fix it, and not wanting to frog the work, which was almost 3-4 inches long at this point, I quickly went to my laptop, and onto the trusty internet. Unfortunately, I couldn't fix it, so I opted for the next best thing, which was going back a row. So, I did.

So, back to knitting I went. And wouldn't you know it? A few rows later, I had slipped a stitch in the middle of the row. Not panicking, I caught the stitch almost immediately, and then with my trusty crotchet hook, one the same size as my needles (6.0mm or size 10), and a quick look at this site, How to Fix a Dropped Stitch, I easily fixed that too.

So, if you find that you've dropped a stitch, don't fret, and catch as soon as you can, the sooner the better, and fix it. Of course, the more complex the pattern, the harder it might be to catch and fix the problem. I am doing a simple garter stitch for my project, so it was very easy to catch right away. Some people recommend threading a string along a row as you knit, to act as a sort of "safety line". This is particularly helpful if you are doing a complex pattern like a lace. If you find that you've dropped a stitch and its next to impossible to fix, you can simply go back to the row with the string in it and start knitting from there.

Sunday, June 23, 2013

Officially 8.33% done with my scarf!!

Since I am not very good with caculating percentages manually, I went and found a percentage calculator online to help me figure out how much of my scarf I have done. I have about 5 inches knitted so far, and want to knit a total of 60 inches. I plugged those values in and hit the "Calculate" button and it showed that I have 8.33% of my scarf done.

I am proud of myself for finishing almost 10% of it already. I just found a tape measure, which goes up to what I think is the standard 60 inches. It's my mom's but I think I can borrow it for now. She surely isn't using it much, if at all. Anyways, 60 inches is about how long I want my scarf to be, so it works out perfectly!! I have nearly 5 inches of scarf so far, and being about 20 stitches wide, it should turn out nicely!!

Also, going to have to make a note somewhere to call Stitch One, Knit Too, so as I can see if I can secure a place at Moonlight Madness, which is the name of the event I described in the previous post. I think I can figure out how to do it on my Driod, but I don't always carry the thing with me when I am at home, so maybe a note on my laptop would be more prudent.

I am both excited and nervous about this, as I usually get anxious about social events, but I think I'll have a lot of fun regardless.

Also, after a ton of headaches and trying to figure things out, I finally managed to add a widget (that nifty progress tracker from Raverly) to this blog so anyone who reads it, but mostly just me, can easily keep track of how much of my project I have completed and which project (or projects) I am working on. Its right above my Bio, if you couldn't find it. Enjoy!!